Arduino Basics
This week’s assignment is to create a circuit and Arduino code that does the following:
Circuit
- Connect two LEDs to your Arduino using a breadboard
- Connect one switch to your Arduino using a breadboard
Code
- Read a momentary switch being pressed
- When the program starts, both LEDs are off
- When the switch is pressed once, the first LED turns on
- When the switch is pressed the second time, the second LED turns on (the first one should also still be on)
- When the switch is pressed the third time, both LEDs turn off
- Repeat this same cycle of LEDs turning on and off in sequence (off, one LED, two LEDs, off…)
Simulator Draft
The first step for me to achieve it this was to use WOKWI Arduino Simulator to help me build a virtual circuit that looks like this:
You can also see my code and circuit here.
Code
int count=0;
int button;

void setup() {
   pinMode(2, INPUT);
   pinMode(8, OUTPUT);
   pinMode(13, OUTPUT);
   button=digitalRead(2);
}

void loop() {
  int read=digitalRead(2);//use this to avoid using too much 'digitalRead' later
  if(button!=read){
     count+=read;
     if(count>=3){
       count=0;
     }
   button=read;
  }
  if(count==0){
    digitalWrite(13, LOW);
    digitalWrite(8, LOW);
  }
   if(count==1){
    digitalWrite(13, HIGH);
  }
   if(count==2){
    digitalWrite(8, HIGH);
  }
  delay(10);
}
Circuit
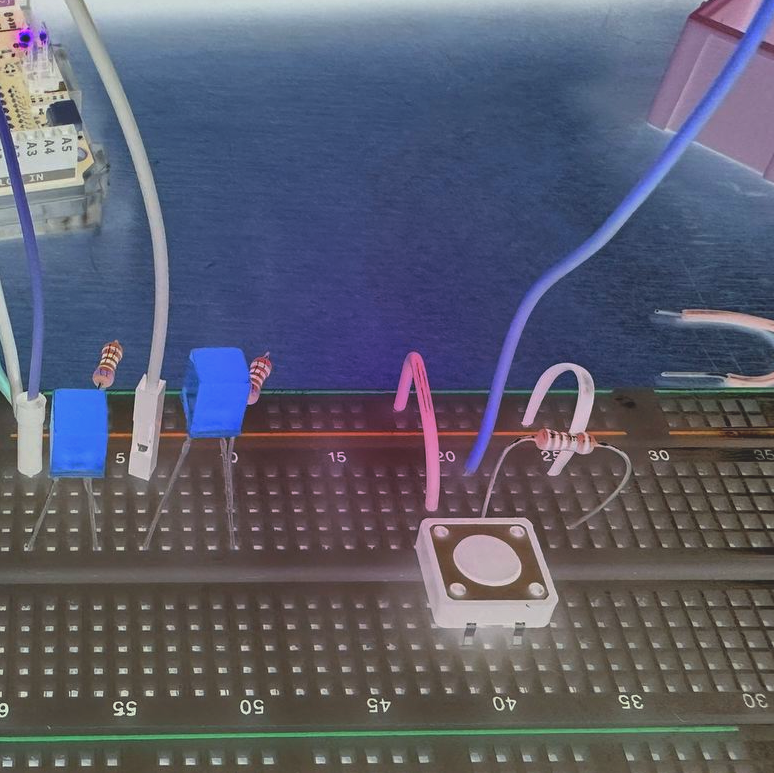
This is my circuit based on my simulation, and it worked out quite well.
again and again and again…


