My Final Project
' Week-05
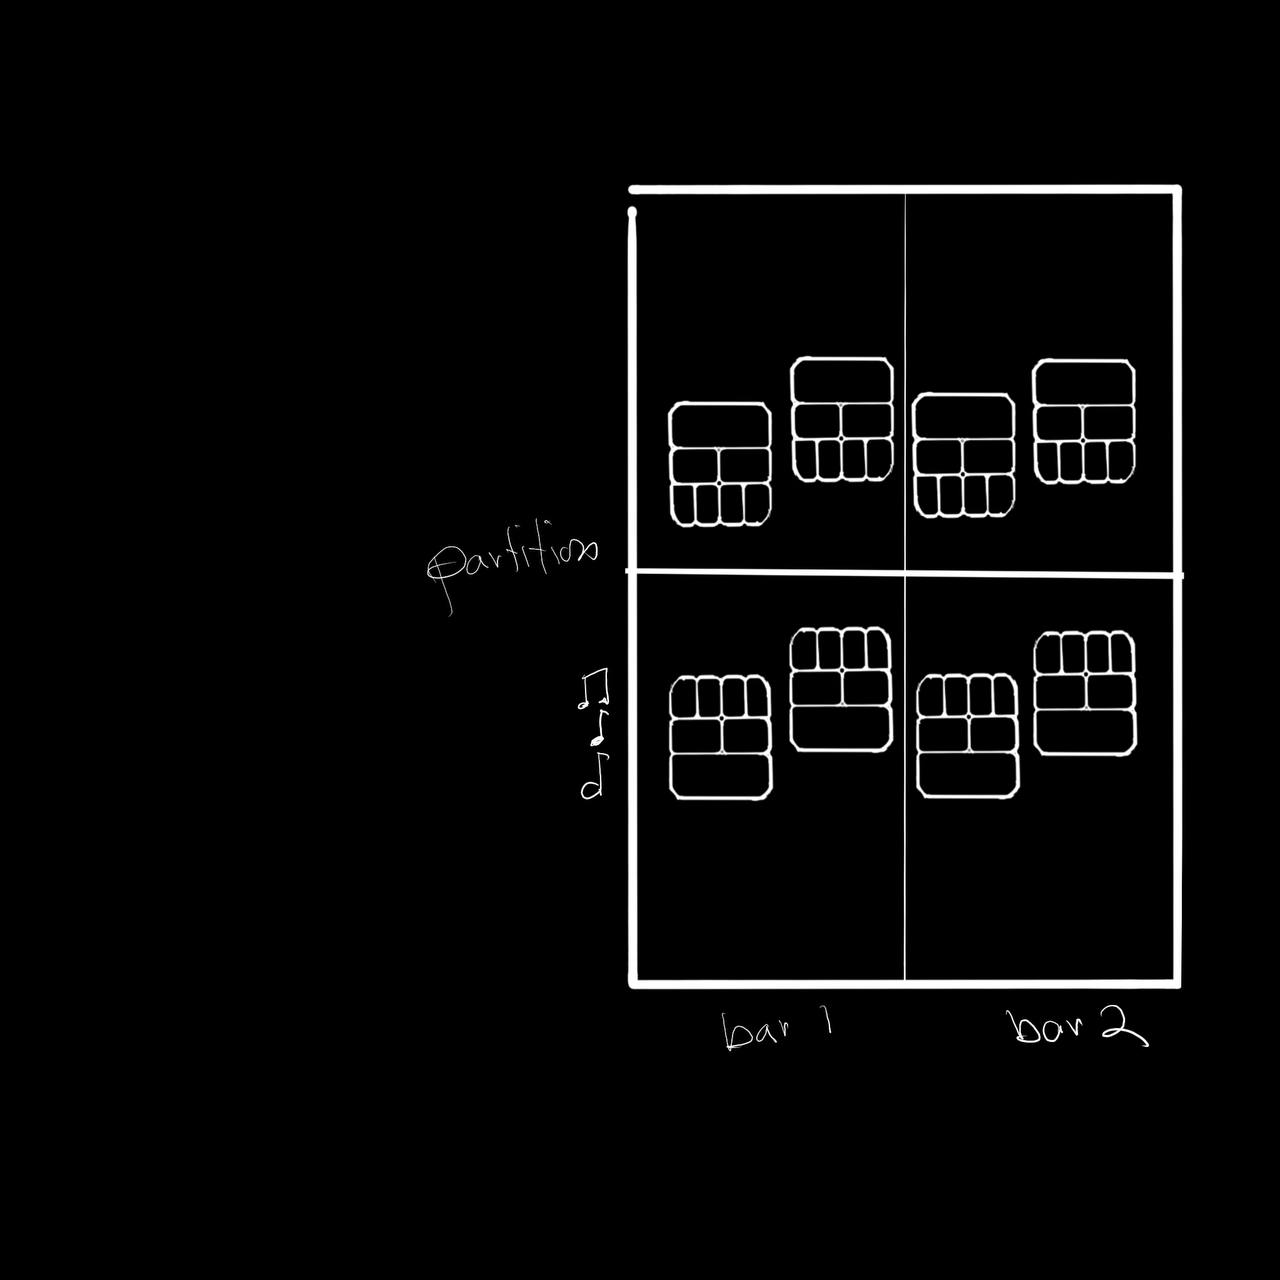
This week I began formulating a basic game conept for the final project. The project then would incorporate elements from both Physical Computing and Computational Art & Design courses. Below are is the first iteration of a gameboard/textile which would be embedded with capacitive sensors. The rectangular features on the board are divided further into smaller rectangles. These rectangles correspond to a specific step location on a step sequencer. the smallest recangles represent eighth notes, the middle-sized rectangles are for quarter notes and the larger rectangles are half notes. The players would then listen for a gap in a repeating loop where they could fit a note. Overlap of notes ends the game.
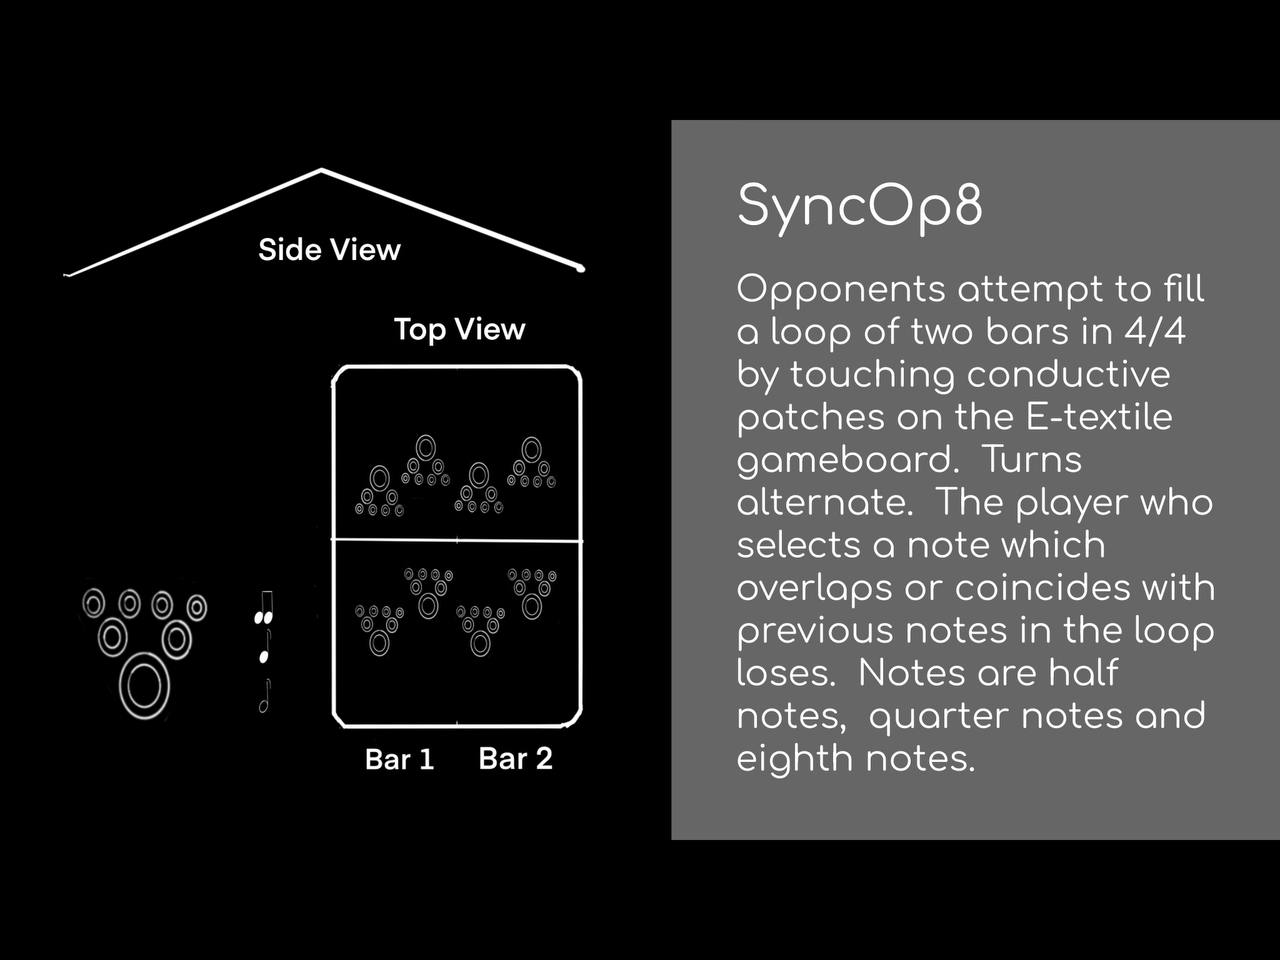
Below, a further iteration of the gameboard can be seen along with a description of the game concept.
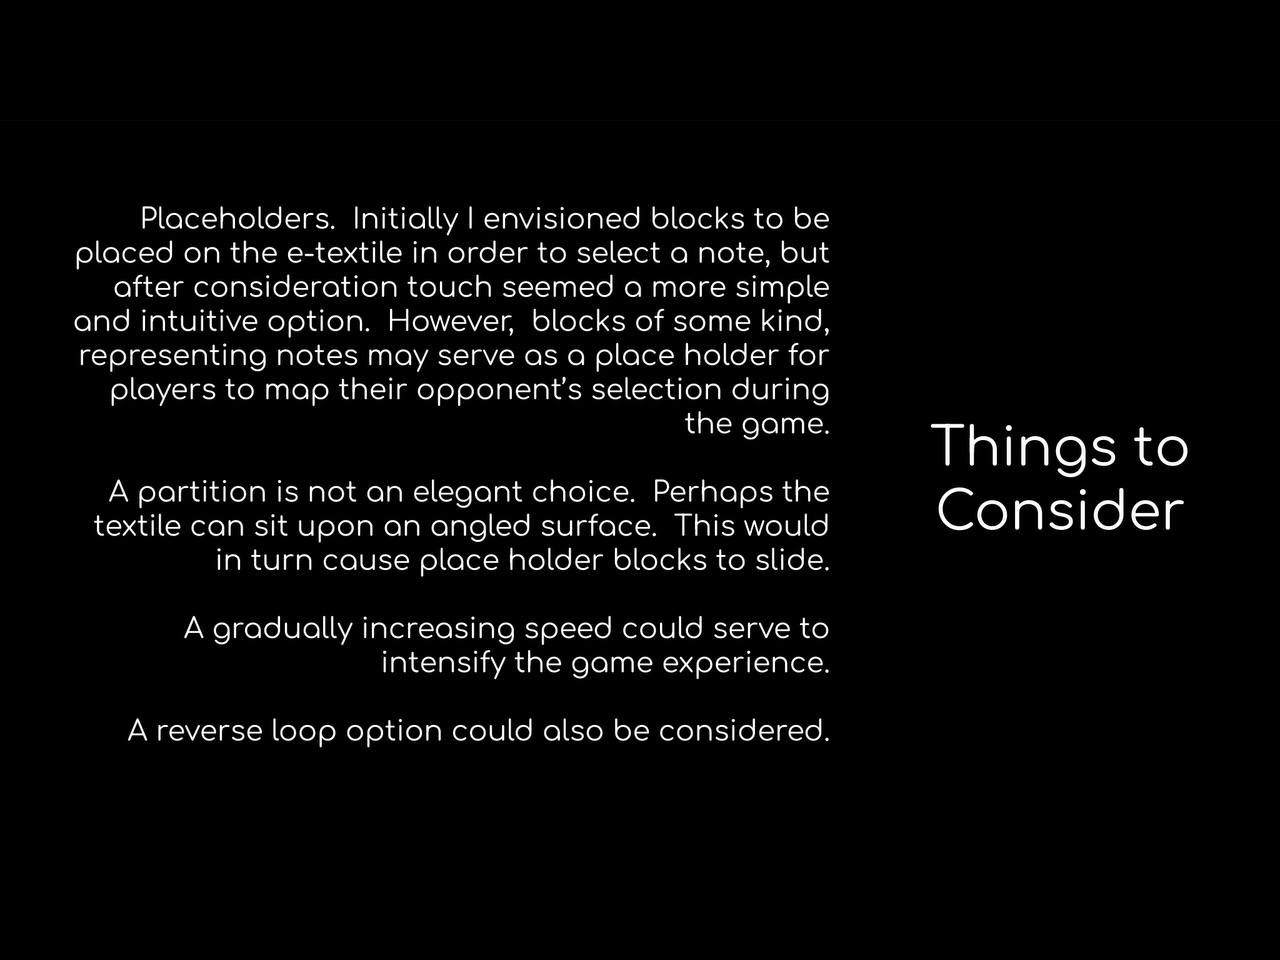
In some ways the starting point for the game concept involves ironing out the game dynamics and balancing these against what is possible or achievable within p5js. The following slide mentions a few of these considerations.
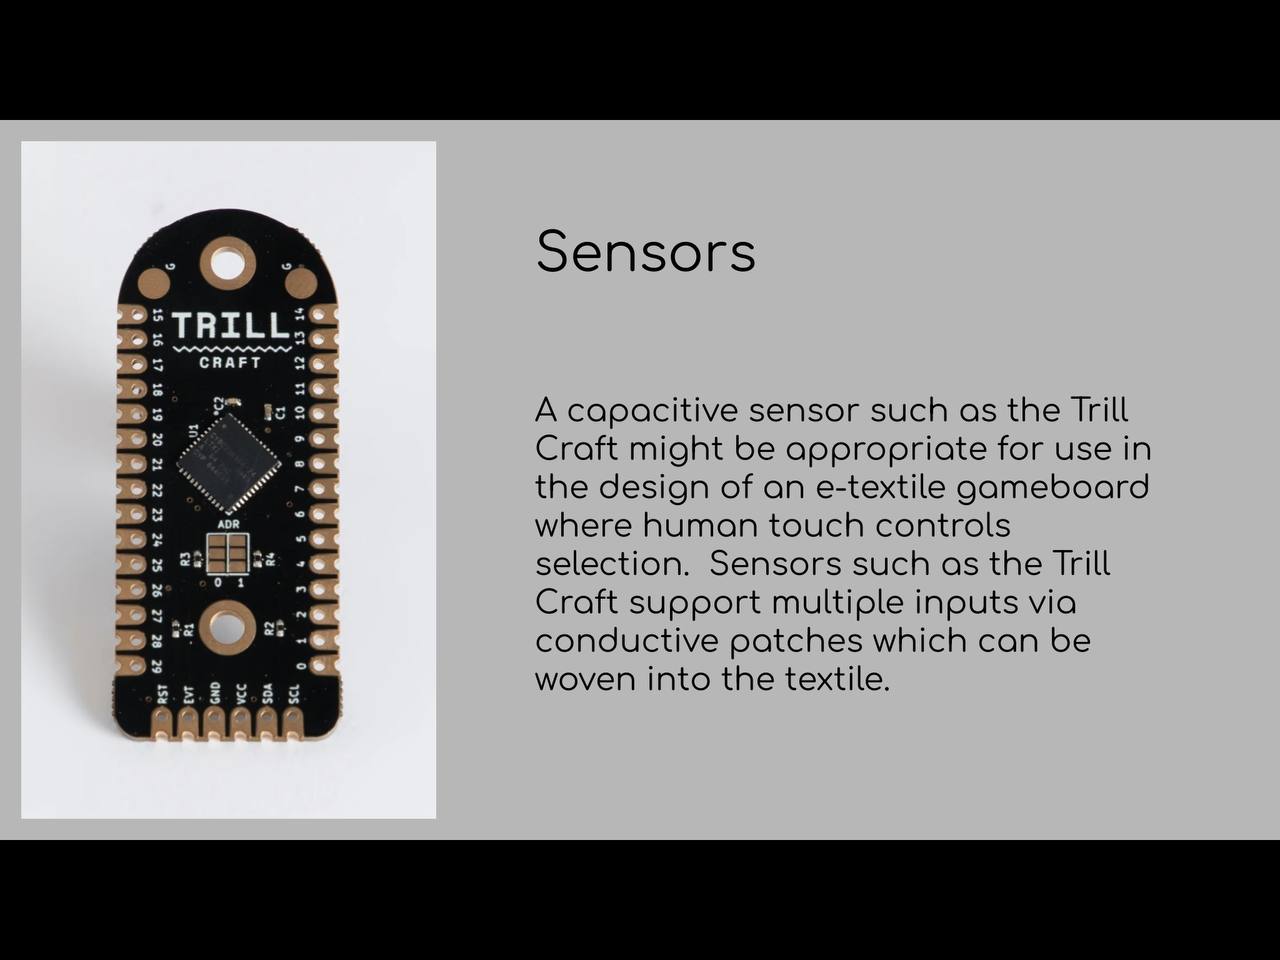
While I’m not entirely committed to p5js at this point it seems that the capacitive sensor of choice for this project is the Trill Craft which would allow for multiple inputs for my touch button arrays.
'
’ Week-06
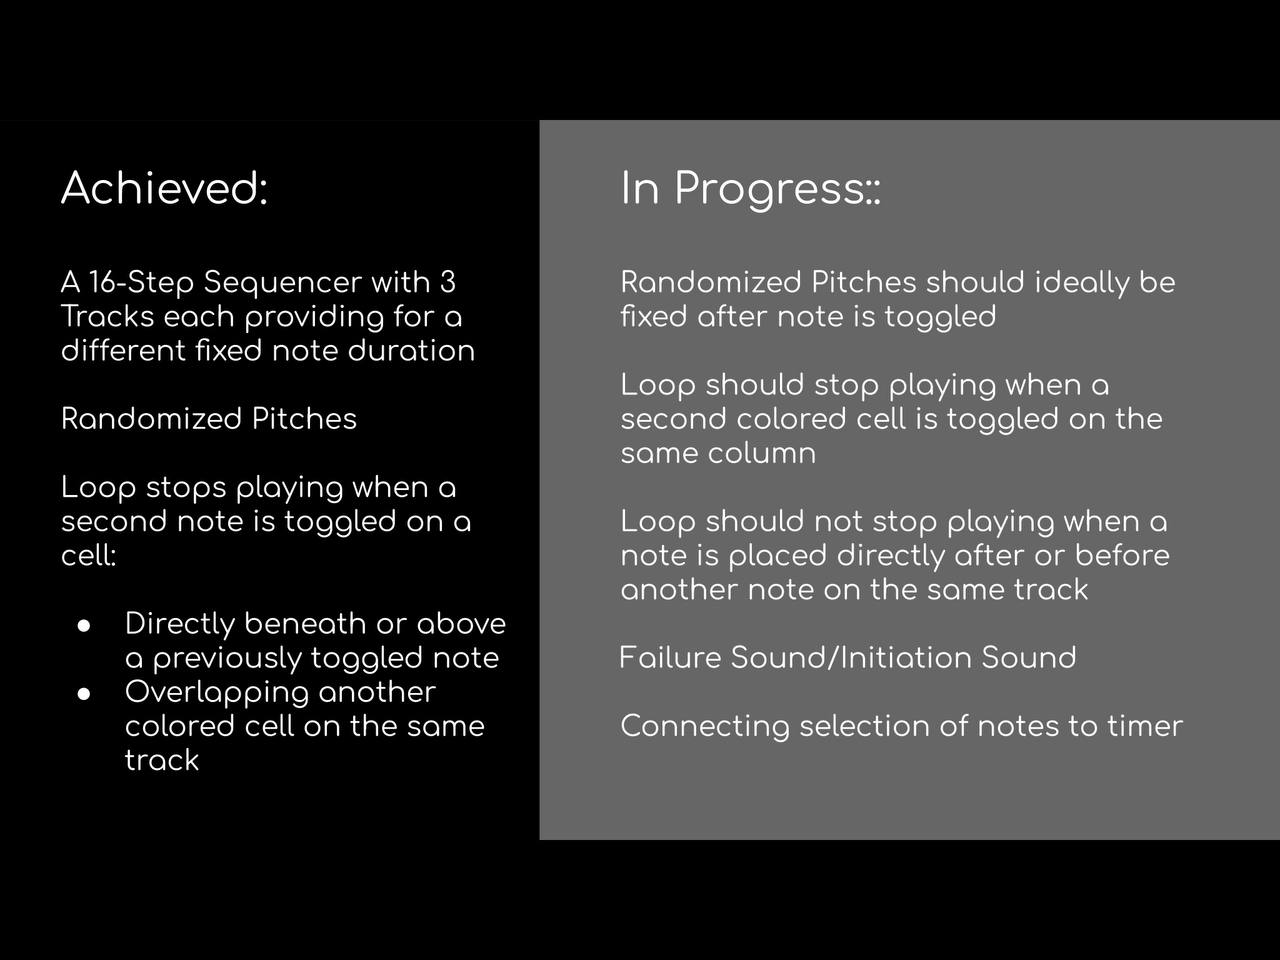
In the slide below, a report of what has been achieved this far and what is still ahead is listed.
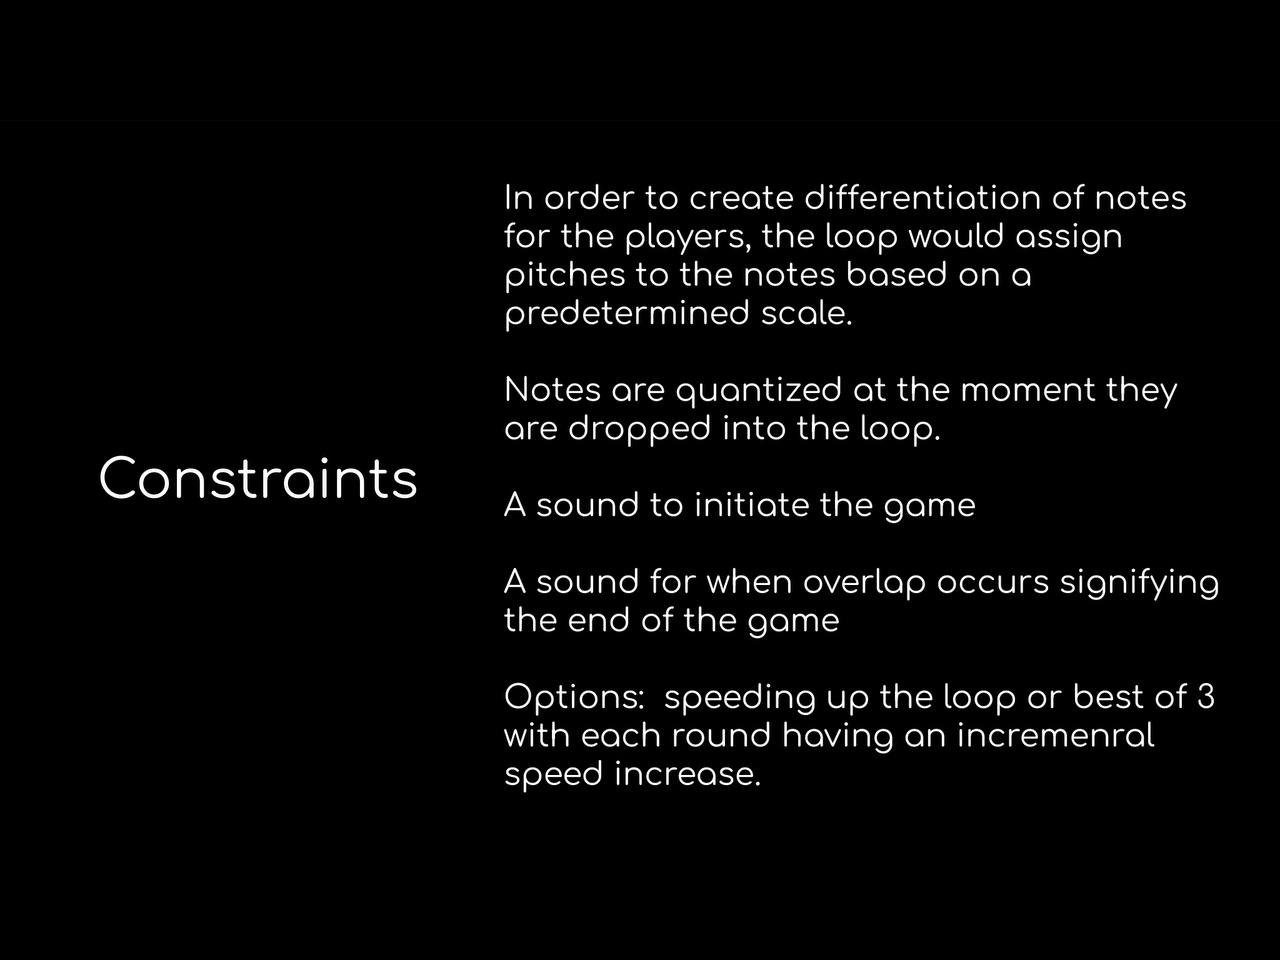
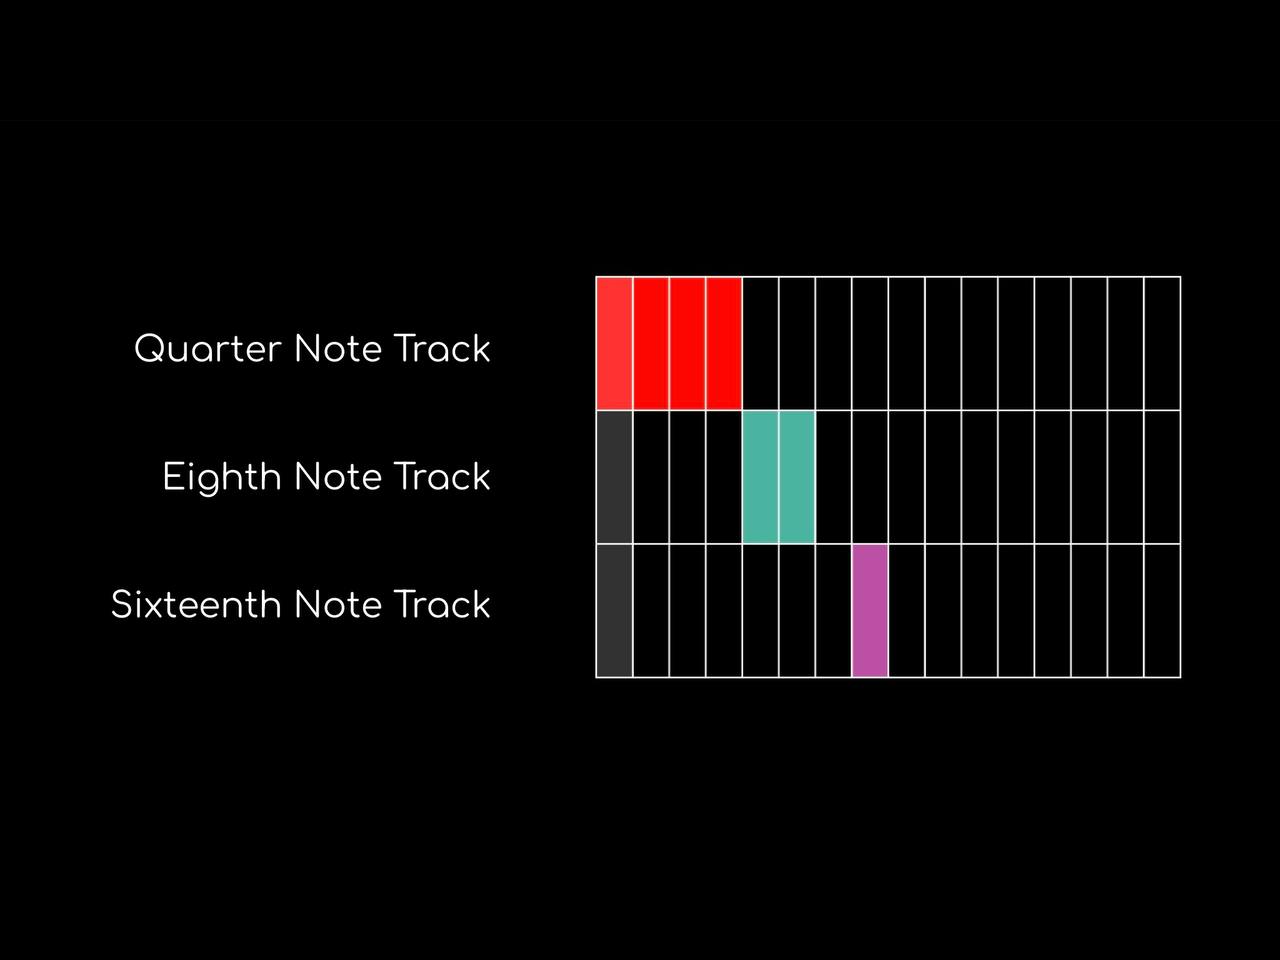
The constraints mentioned in the following slides reflect a change towards adapting to th p5js step sequencer limitations. Notes are dropped into the sequencer as the loop plays in accordance with the step that is active.
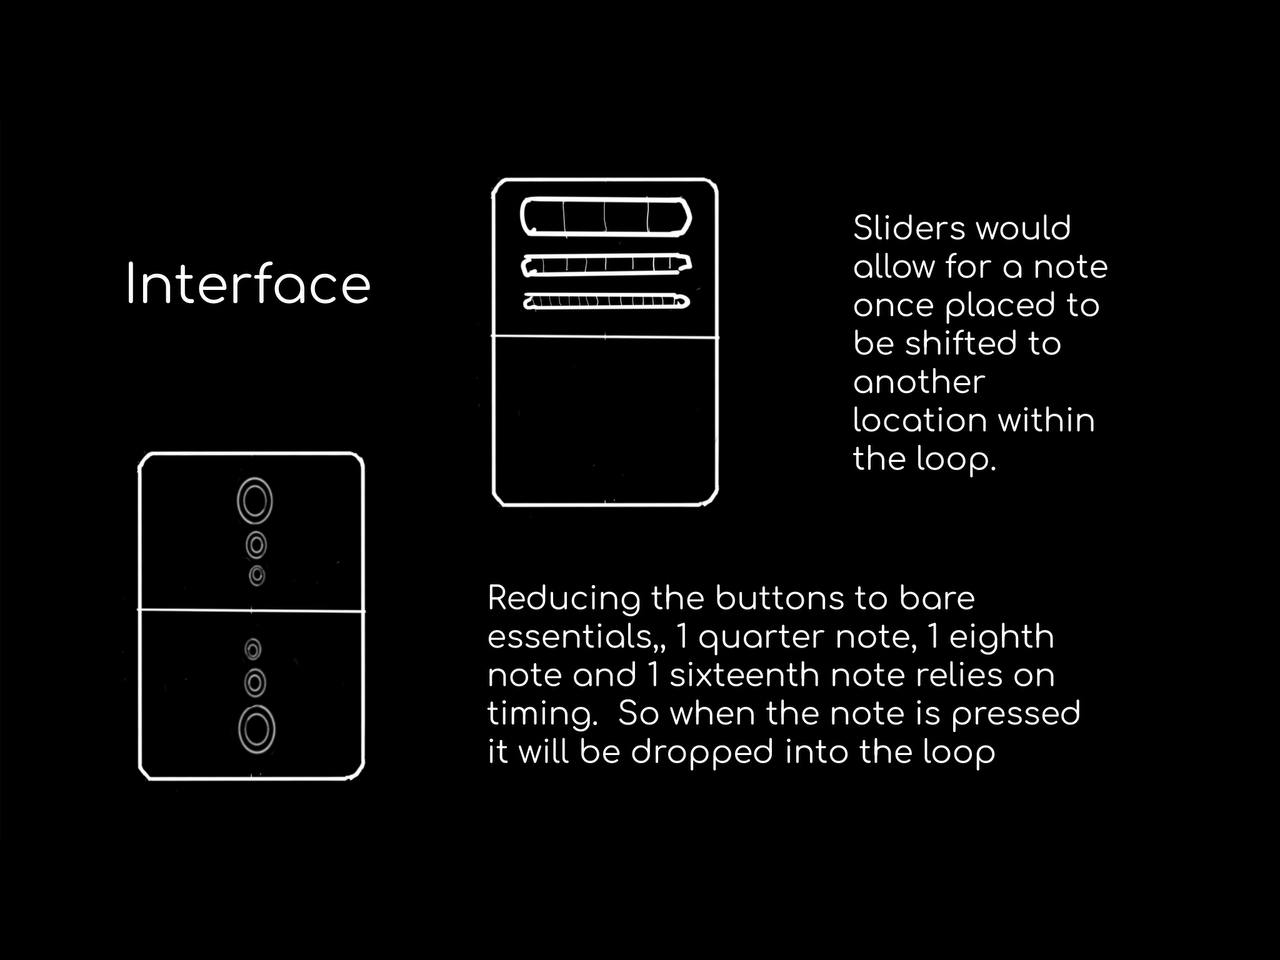
in the following sketches, the interface has been reduced considerably in the number of buttons available to a player. Sliders would provide for moving notes into other locations but that may be too complicated to achieve at the moment.
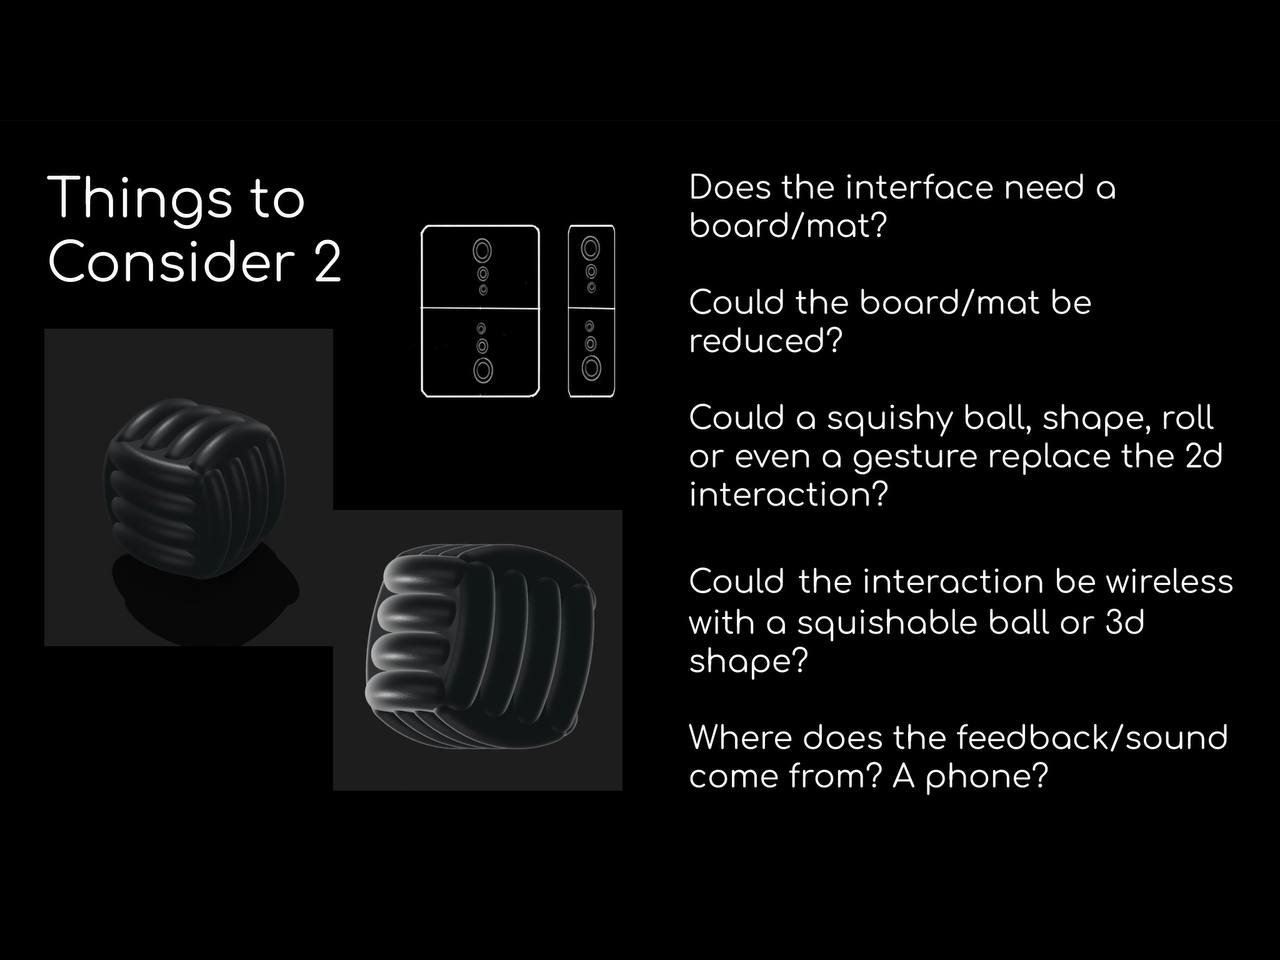
Further considerations are mentioned in the following slide. Of these, the downsizing of the gameboard is one which will affect future iterations.
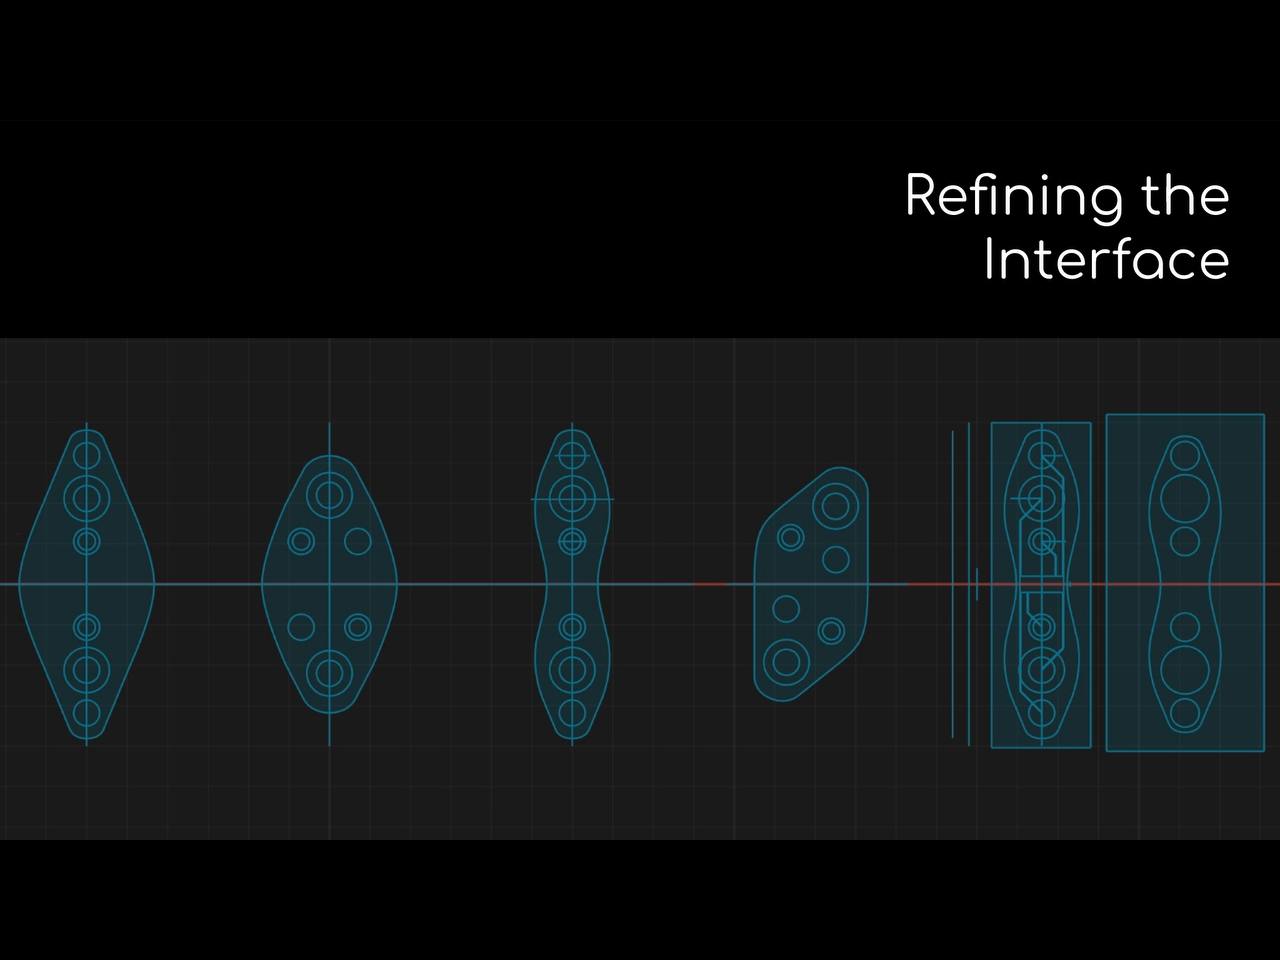
Using the simplified interface, I’ve sketched a number of possibilities.
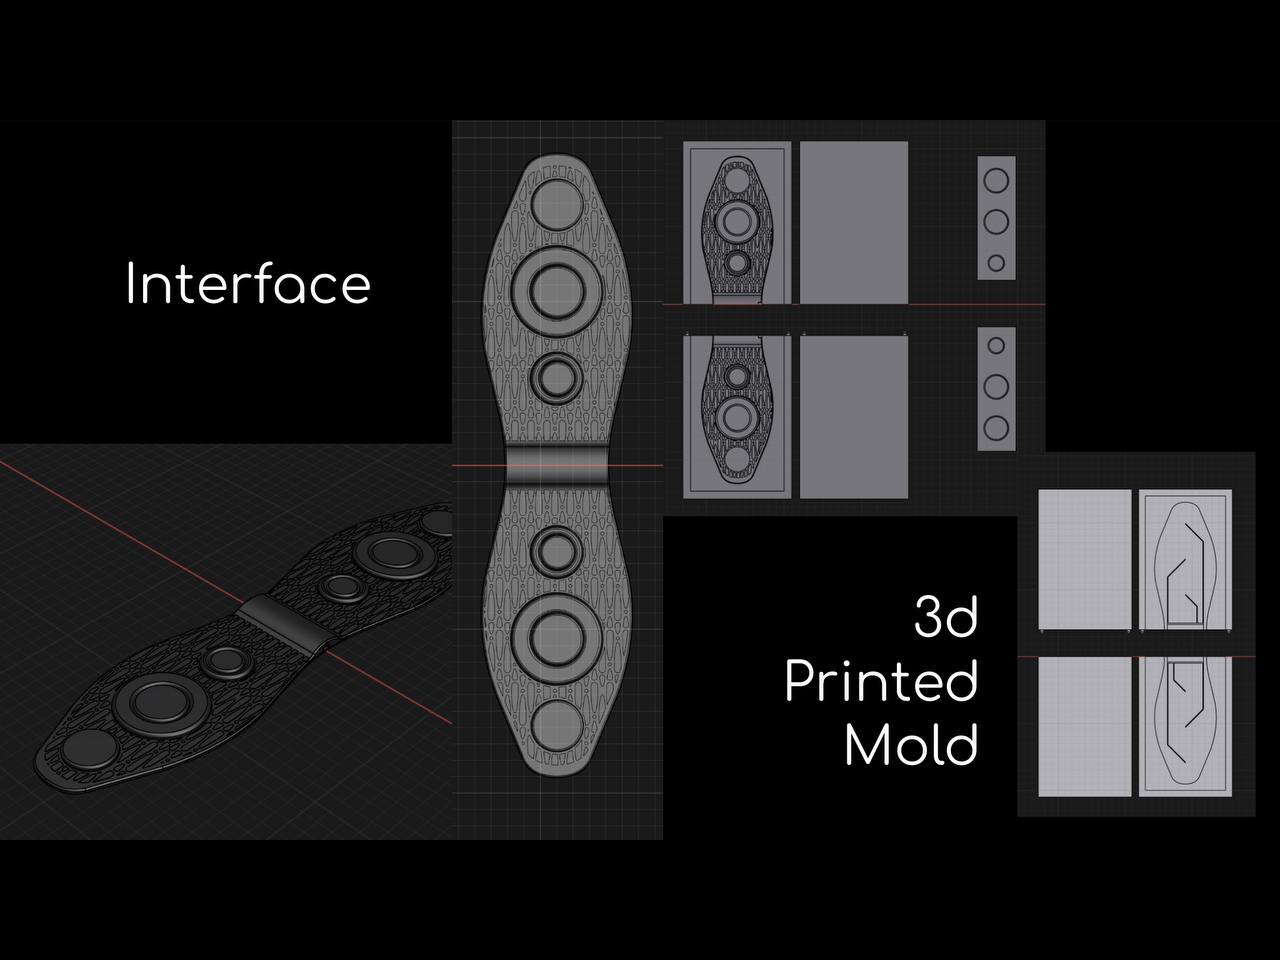
I’ve settled on the following design and considered the positioning of wiring and the Teensy board for the underside of the interface.
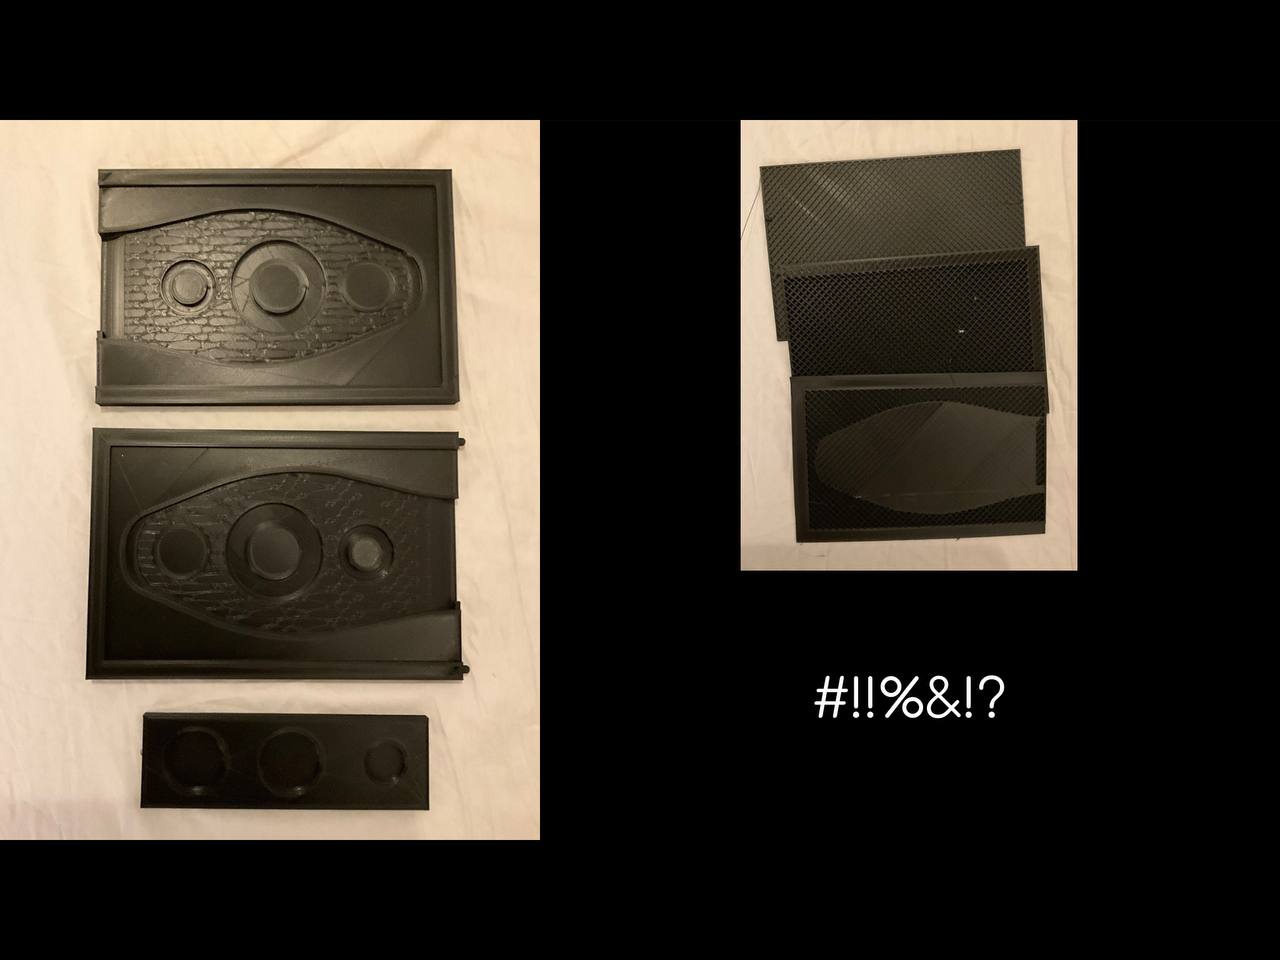
The 3d prints have been started on my own printer. The printer is an Anycubic Mega X and has begun to exhibit some presently unresolvable problems. The printer is stopping mid’print resulting in a lot of wasted prints and time. I’ll have to use the univerity’s facilities.
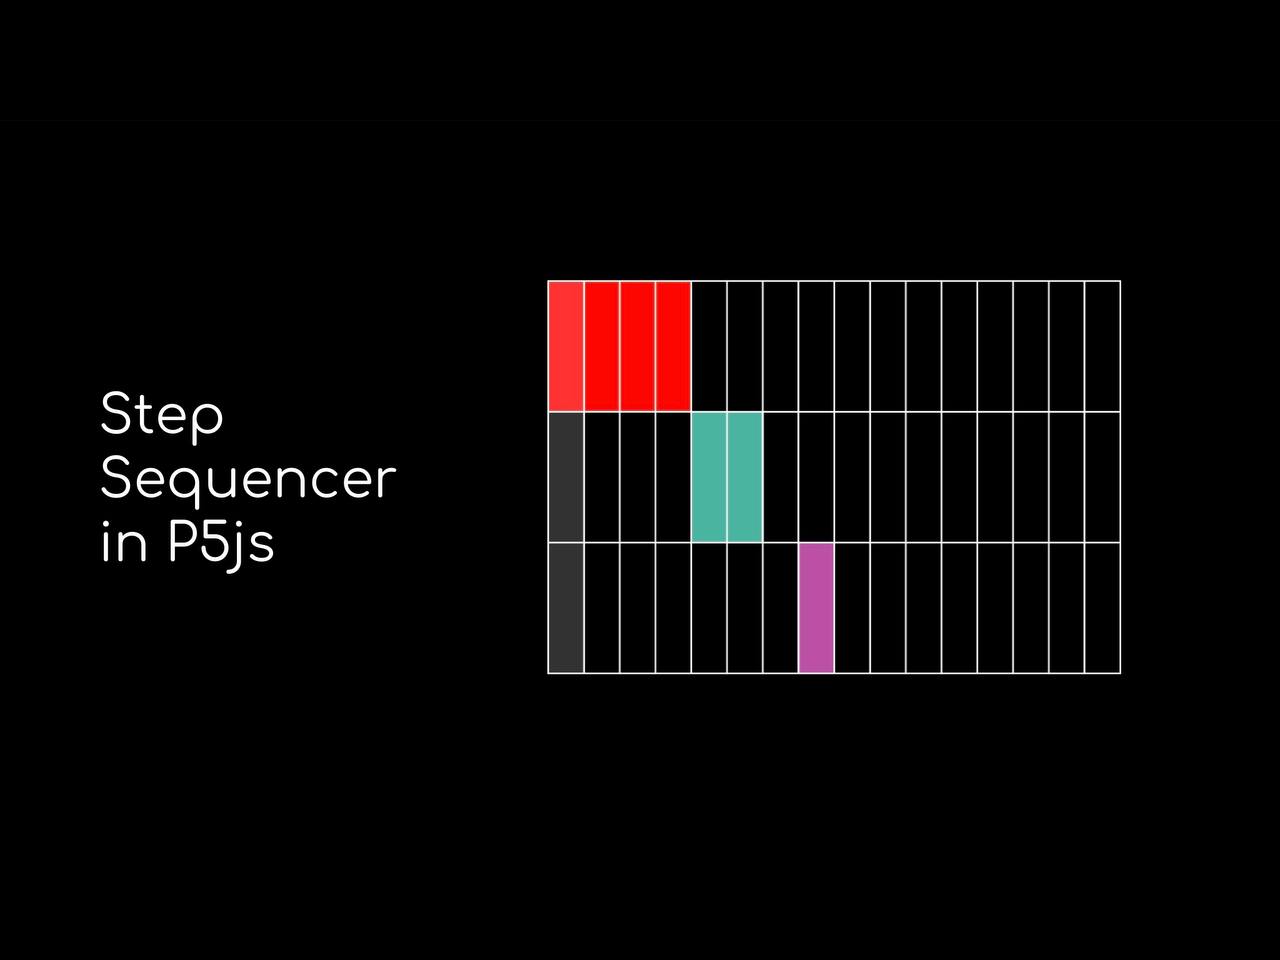
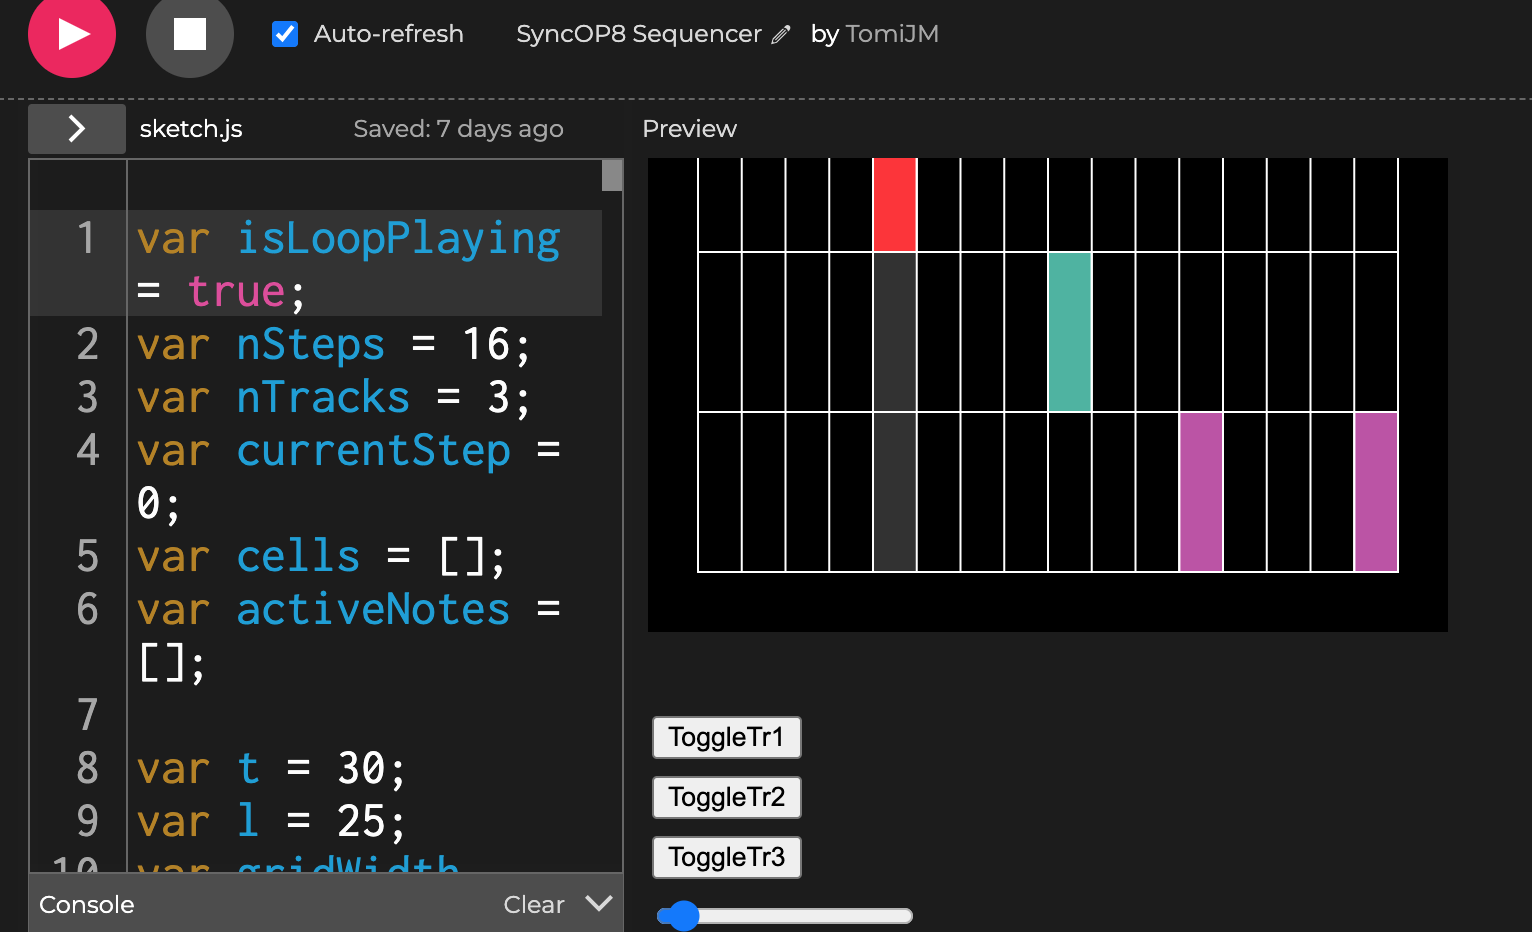
The current version of the p5js step sequencer is shown below. notes of three different durations are separated into three tracks. At the moment I’m simply clicking on the sequencer for note placement to test for overlapping. I’ve had some trouble getting the overlap to be recognized as the colored cells used to indicate note duration and the triggered notes are somewhat separate parameters. Also I’ve assigned different durations thsn what was previously mentioned to conform to a 16 step sequencer.
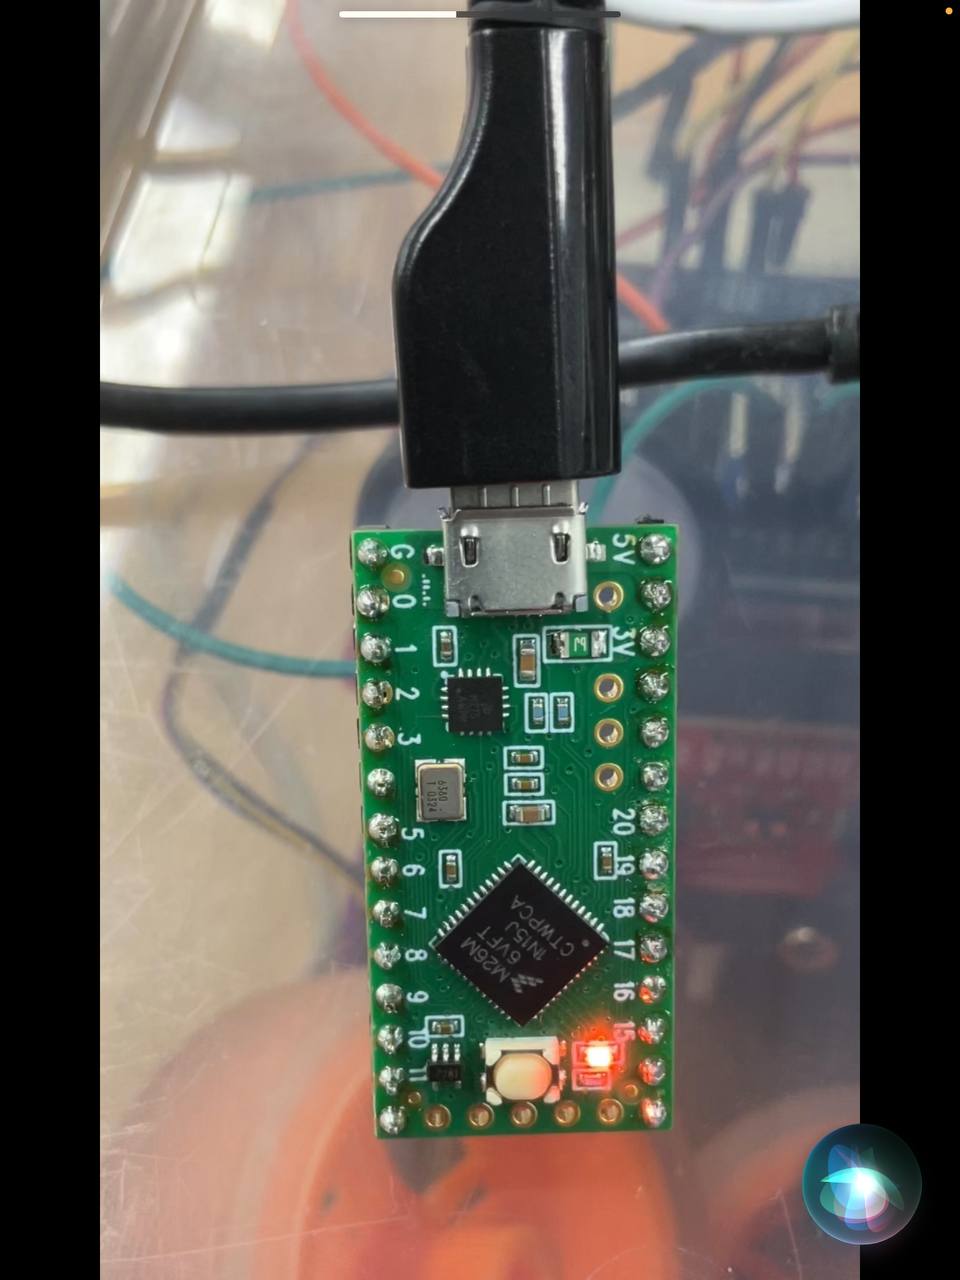
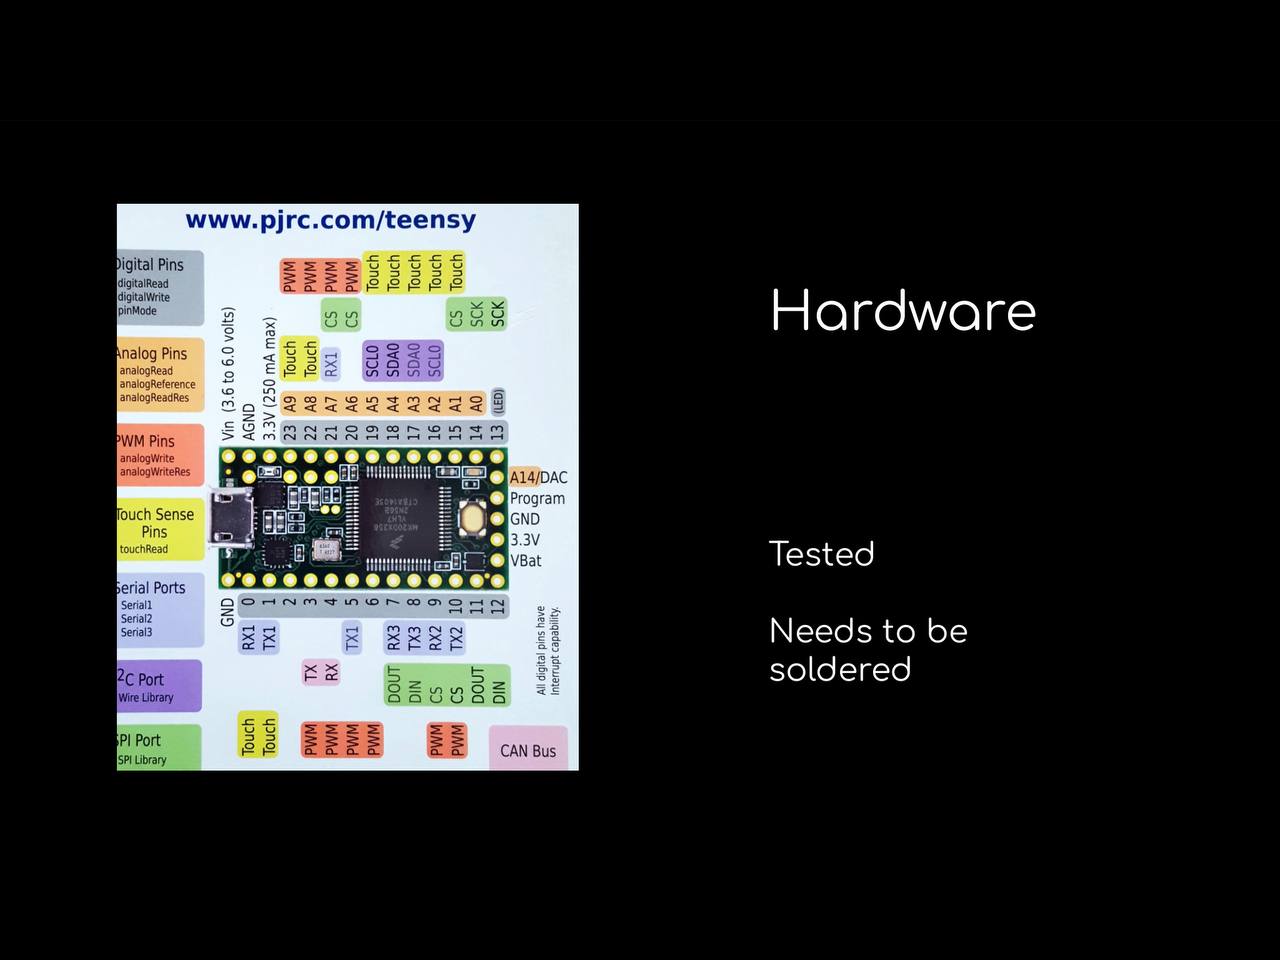
I’ve been advised to switch to a Teensy board due to it’s ease of use as compared with the Trill Craft which may require additional hardware to connect to my laptop.
I’ve used the code below with Arduino IDE to read the sensor values in the serial plotter.
int touchRead_pin = 0;
int data;

void setup() {
Serial.begin(57600);

}

void loop() {
data = touchRead(touchRead_pin);
Serial.println(data);
delay(100);

}
The values jump into the 5 digits when the conductive wire connected to the teensy is touched. The value 2000 appears to be a safe minimum for detecting touch.
'
’ Week-07
in the last week of final project I’m rushing to get the mold printed on the university’s 3d printers. I manage to do a quick casting with dragon skin which takes 4 hours to cure. Before this I’ve had to cut my mold’s top plate on leaving a small bridge that will allow the cavity for the Teensy to be created.
The results are mixed. I would have to cut into the underside of the silicone to allow space for wiring but the pad is itself only a few millimeters thick. on the brighter side I’ve managed to add buttons and a slider to the p5js step sequencer. all overlap is accounted for and any note overlap will trigger the loop to stop. also upon the loop stopping, an audio sample of breaking glass is triggered.
As far as the Teensy board, I’ve managed to create code which reads and provides values for 6 touch sensors at a time.
int touchRead_pin[] = {A9, A1, A2, A3, A4, A5}; // Array of touch sensor pins
int numSensors = 6; // Number of touch sensors
int data;

void setup() {
  Serial.begin(57600);
}

void loop() {
  for (int i = 0; i < numSensors; i++) {
    data = touchRead(touchRead_pin[i]);
    Serial.print("Sensor ");
    Serial.print(i + 1);
    Serial.print(": ");
    Serial.println(data);
  }


  delay(100);
}
however I was unable to get p5js to recognize the data from the Arduino IDE. I tried a new code to read the values of 3 sensors. Idiscovered that there was an issue with parsing and that the way my code was displaying data in Arduino IDE was unreadable to p5js. Eventually I got p5js to recognize the data and a simple circle was drawn every time the value of a sensor went up to or surpassed 2000. I used the following code.
int touchRead_pin_A9 = A9;
int touchRead_pin_A5 = A5;
int touchRead_pin_A4 = A4;

int data_A9;
int data_A5;
int data_A4;

void setup() {
  Serial.begin(57600);
}

void loop() {
  data_A9 = touchRead(touchRead_pin_A9);
  data_A5 = touchRead(touchRead_pin_A5);
  data_A4 = touchRead(touchRead_pin_A4);


  Serial.print("A9: ");
  Serial.println(data_A9);

  Serial.print("A5: ");
  Serial.println(data_A5);

  Serial.print("A4: ");
  Serial.println(data_A4);

  delay(100);
}

sketch.js:

let port;
let touchMax = 0;
let onePressed = false;

function setup() {
  createCanvas(400, 400);
  port = createSerial();
}

function draw() {
  background(130, 70, 90);

  if (port.available() > 0) {
    let str = port.readUntil("\n");
    let splitData = split(str, ",");

    touchMax = splitData[0];

    port.clear();
  }

  if (touchMax >= 2000 && onePressed==false) {
    fill(255);
    circle(width / 2, height / 2, 200);
    // call togglebuttonaction
    onePressed = true;
  } else if (touchMax<2000) {
    fill(255, 0, 0);
    rect(width / 2 - 10, height / 2 - 20, 20, 40);
    onePressed =false;
  }
}

function mousePressed() {
  if (!port.opened()) {
    port.open(115200);
  }
}
Still I did not have sufficient time get the sensors and the p5js step sequencer to communicate.
'
<video controls width=100%>
  <source src ="./video/SyncOP8.mp4" type="video/mp4">
  Your browser does not support the video tag.
</video>
' Final Project/SyncOP8
My concept for the Physical Computing Final Project sought to incorporate some of the p5js basics touched upon in our Computation Art & Design courses. More specifically, a simple step sequencer in the p5js web editor would serve as a basis for a two player game. In this game, players could alternately drop notes into a moving step sequencer set to a preselected speed. The rules of the game are fairly simple. If one player’s note overlaps with that of their opponent, the former loses the game. This simple game concept served as a starting point in assessing an appropriate game interface and the hardware that would be best suited to facilitate a connection between player and game.
Sensors
While exploring controller possibilities from among the 2020 GDC alt.control archives, I came across an example of an e-textile incorporating capacitive sensors into a tapestry. ’Our Sutured City’ depicts a stylized map of a town where site locations elicit sounds when touched. This led me to explore Trill capacitive sensors. The Trill Craft in particular would allow for multiple inputs, an important affordance as my early game concept required quite a few buttons. Later I was advised to switch to a Teensy board as I was informed that it provided a more simple and direct link to my laptop. After testing the Teensy with conductive wire and a copper penny as the conductive surface, the values dispkayed by the serial monitor in Arduino IDE provided a range within which the capacitive sensor detects touch. After a short observation, the values dispkayed indicated that direct touch of the conductive surface (pemy) consistently coincided with a minimum value of 2000. This value then served as the basis for creating a button feature in the code used in Arduino IDE to detect usable changes from the sensors. Parallel to exploration of the Teensy’s capacitive sensing possibilities, I devoted some time to evolving game dynamics.
Game Dynamics
As described above, SyncOP8 involves two players alternately dropping notes into a moving step sequencer, attempting to avoid note overlap. It is important to note that the game as originally intended involves little to no visual representation of the step sequencer. Under such conditions, players would need to rely entirely upon an aural mapping of the notes in the sequencer. In part, the looping of the sequence facilitates this mapping through repetition. Additionally, differentiation in tones via duration, pitch or wave type might be useful in the player’s mapping endeavor. So for example, one button on a controller could be assigned to base tones while another could be assigned to higher pitches. Upon testing the sequencer, I realized that pitch differentiation enhanced the ability to recognize and thus to map notes within a looped sequence. However duration of notes seemed considerably more difficult to detect without the use of a metronome. However from an aesthetic perspective, I found the use of a metronome akin to writing beautiful calligraphy on graph paper. In the developmental stages of game dynamics I explored the option for sliders where notes already deposited into a loop could be reassigned to another location. This proved overly complicated to implement in p5js (for me at the monent) and places high demands on the players ability to map such a dynamic game environment. I decided, as with everything to keep things as simple as possible. Multiple buttons initially assigned to foxed positions in a sequence and fixed notes similarly to a piano keyboard would give way to three buttons for each player. In this arrangment, each button corresponds to a track and each track has a set of fixed notes within a limited pitch range. In rhis way, the player need only pay attention to the timing of the pressed button and not so much on strategic positioning of notes for which immediate audio feedback is delayed. These considerarions made for multiple iterations of the control interface.
Interface
The initial game interface had features not unlike that of the classic boardgame ’Battleship’. In this earlier version, players would play on a mat or board where a partition concealed one player’s half of the board from that of the other. Buttons were assigned to each step in the sequencer and keeping track of buttons pressed by the player and their opponent would be facilitated by physical game pieces. The later simplified version of the game nullified the need for a larger game board and strategic record keeping. Therefore the later interface featured only six buttons, three for each player and was considerably reduced in terms of overall size. As a result of this reduction in interface size, using a textile as the main interface material gave way to planning and 3d modelling of a mold for casting a silicone interface.
After sketching several 2d versions of a potential interface, I used Shapr3d to model one of these into a 3d model. The underside of the model took into account the placement of wires and conductive pads as well as the Teensy board itself. Surface patterns were also applied to the visible side of the interface. The 3d model was then subtracted from interlocking plates to create a mold. Buttons would be cast separately requiring seperate molds. Stl files of the molds were then sliced in Cura and printed using an Anycubic Mega X 3d printer. Later molds were printed in the printlab using the Unimaker Connect. Molds were then used to cast using ’Dragon Skin’ silicone.
Reflections
This project involved working on several distinct areas of concern simultaneously with the ultimate objective of producing from these a functioning whole. These areas have included 3d modelling, mold making and casting, incorporaring capacitive sensors into a game interface, p5js step sequencer design, game development and perhaps most importantly the communication between sensors used and the p5js step sequencer. Not all of the challenges involved in this project were overcome. In retrospect, a degree of planning including smaller goals to be achieved within a certain timeframe would be a better approach for my future projects. Also, more often than not I didn’t ask for help when I might have benefitted from it most. I’ll be sure to be a pest in future.
In practical terms I gained many insights through failure. In making a mold for the game interface, I had not considered that the silicone in it’s viscous state may need to be injected into the mold and for that to be successful conduits for air to escape would have had to have been included in the mold design. I was advised for the sake of expedience to cut from the mold corresponding to the underside of the game interface in order to leave at the very least the cavity needed to house the Teensy board. Pouring the open mold was also slightly more imprecise than I’d imagined and later cutting away the undesireable results of that imprecise pour were not helped by the stretchiness of the material itself.
In terms of the step sequencer created in p5js, I looked into multiple existing examples to inform my own coding. I encountered considerable issues when attempting to use tone.js so I initially dispensed with it but later reintroduced it into the code. Most of the features I strove for were achieved. However I had to compromise with including different note durations as my code continually failed to recognize instances of colored cell overlap. I reverted to a simple sixteenth note/one colored cell approach with three tracks each with a different pitch range. Three buttons were added corresponding to the three tracks which allow the players to drop notes into the moving sequencer. A slider allows the players to adjust for speed at the start of the game. When a note overlap occurs, the loop will stop playing and a sound of crashing glass will be heard indicating that the round is over. The challenge that I faced toward the end of the project was getting the buttons to communicate/recognize the data from the sensors. This aspect of exploration would have been better to have discovered at the earlier phases of the project as it remained unsolved at the time of presentation.
Another challenge discovered late in the project was that though the thickness of my separately cast silicone buttons was only a few millimeters in thickness, they prevented the copper pennies used as conductive pads from sensing touch. This could be simply resolved by placing the conductive pad on top but a more aesthetically pleasing solution would need to be planned.
Lastly, I had anticipated that merging the final projects for Physical Computing and Computation Art & Design would have streamlined my workflow. Reflecting back, I feel that separating the two might have in fact been a more digestible and rewarding approach.
'


